


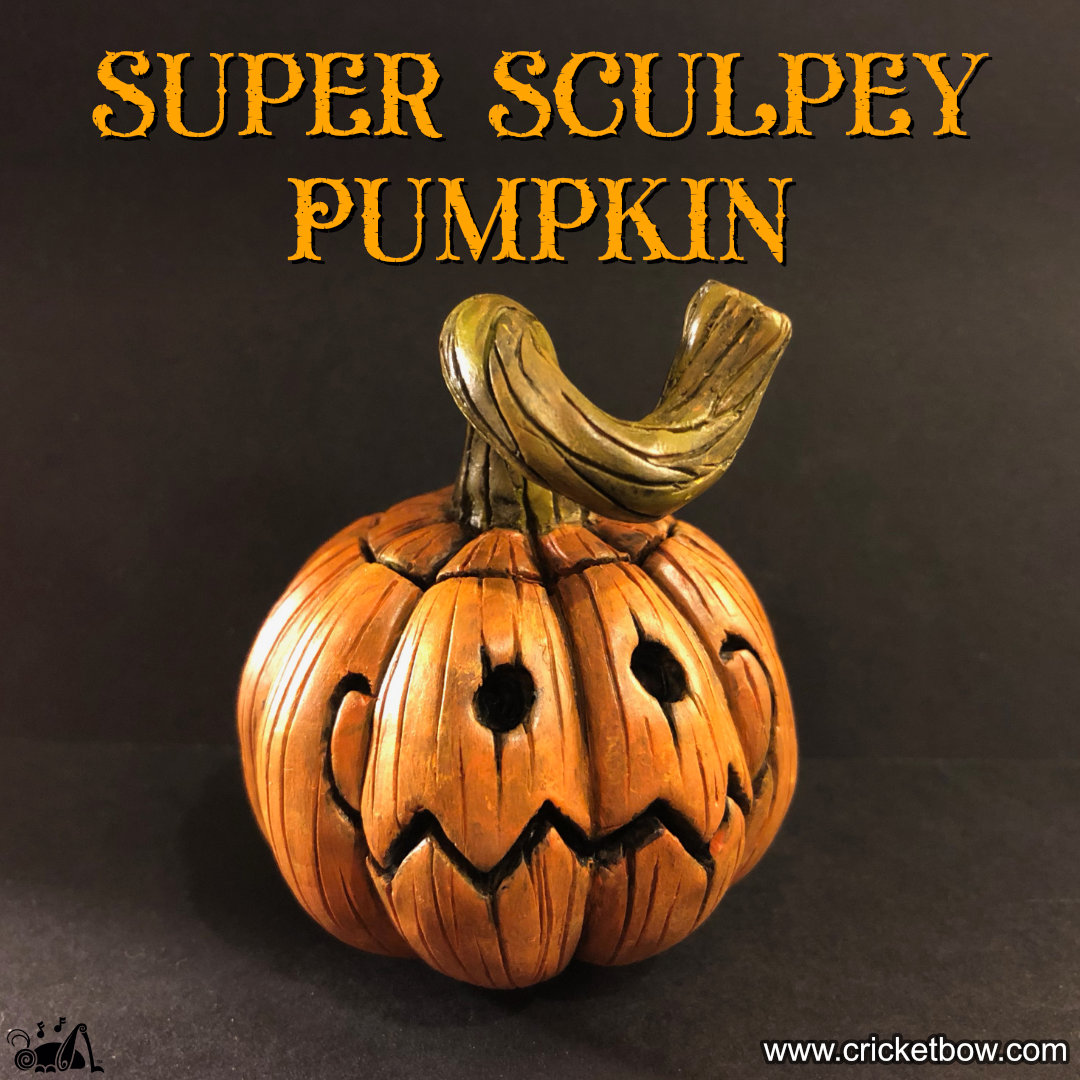
Lately, I’ve been getting into sculpting pumpkins and jack o’lanterns with Super Sculpey sculpting compound. I thought I would write up a tutorial on my process. Sculpey is easy to use and this can be a fun Halloween activity for adults and kids alike!
Step 1.
First I ball up some aluminum foil a bit smaller than the size pumpkin I want to make.

Step 2.
I roll out a sheet of Super Sculpey clay and wrap it around the aluminum foil ball. I like to use firm Super Sculpey, as it holds texture better and doesn't pick up fingerprints as much.

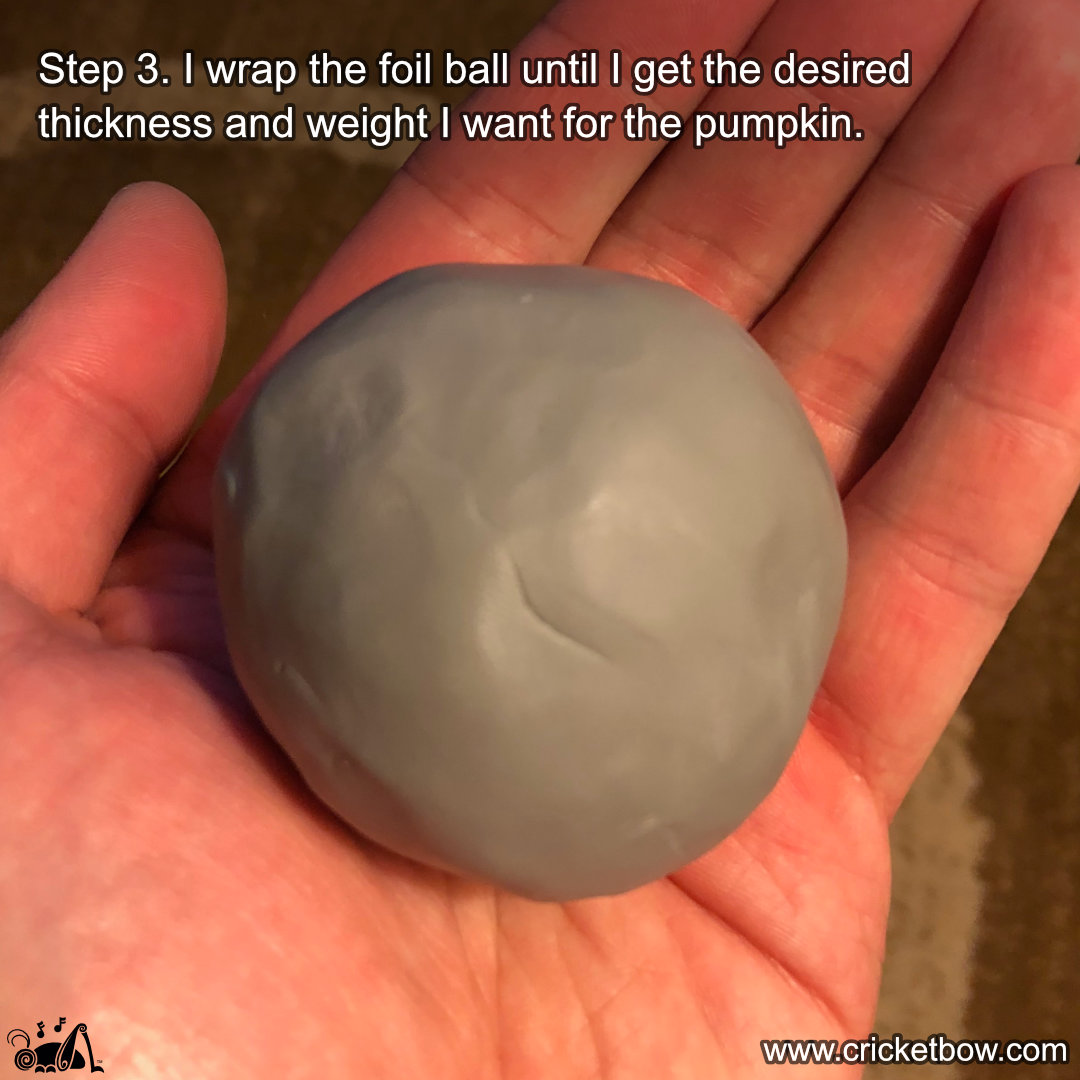
Step 3.
I wrap the foil ball until I get the desired thickness and weight I want for the pumpkin.
Step 4.
I mark where I want the top (stem) and bottom of the pumpkin to be. Then I make some guide marks where I want the pumpkin ridges to appear.

Step 5.
I start to sculpt the pumpkin ridges.

Step 6.
I keep working the ridges into nice bumps around the pumpkin.

Step 7.
I add some definition to the ridges until I have a nice pumpkin shape all the way around.

Step 8.
I sculpt the basic shape of the stem. Some thin armature wire can be used to reinforce the stem a bit to help keep it from breaking.

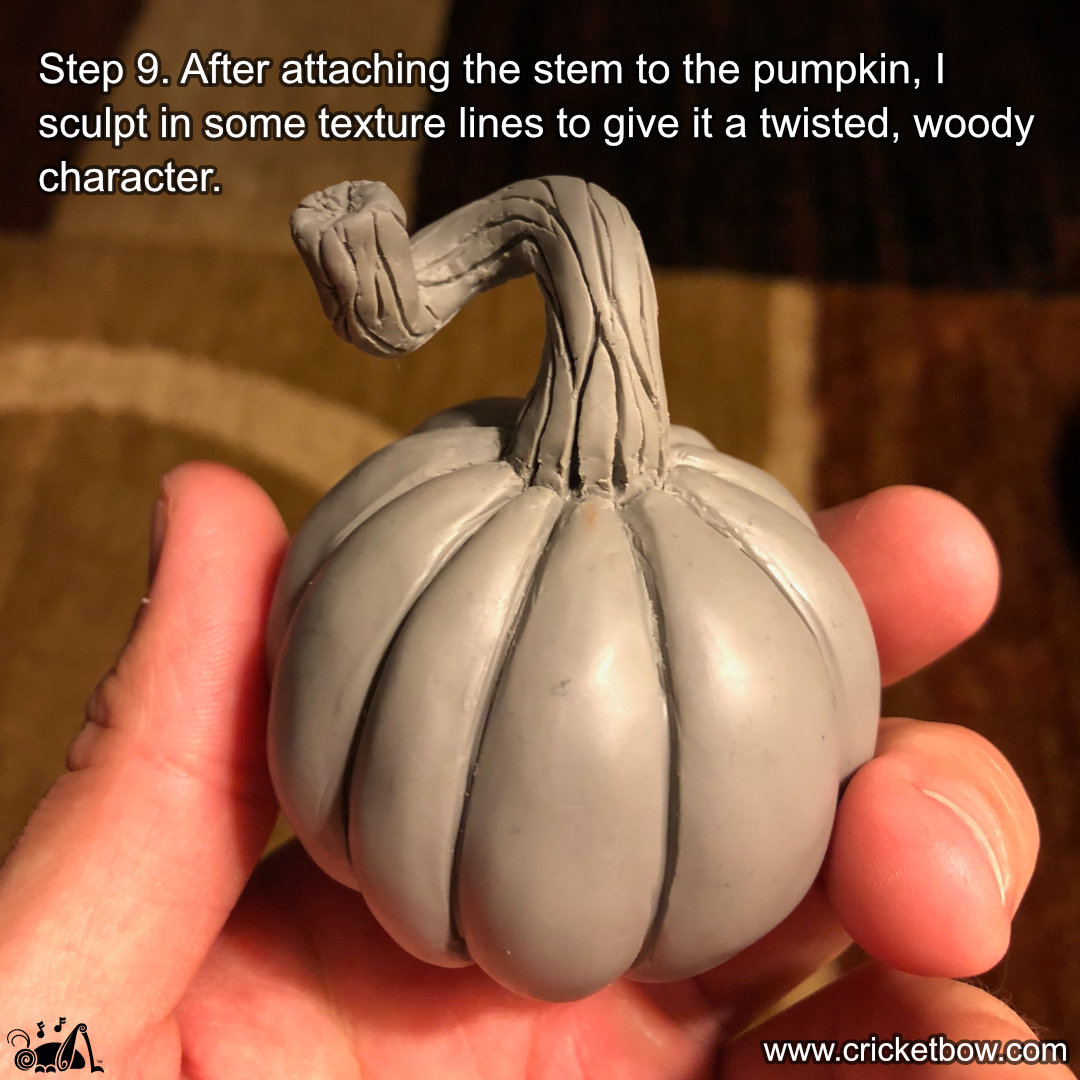
Step 9.
After attaching the stem to the pumpkin, I sculpt in some texture lines to give it a twisted, woody character.
Step 10.
I crack open a Griffin Claw Screamin’ Pumpkin Ale and enjoy while working on the rest of my pumpkin. This is a great Michigan pumpkin ale!

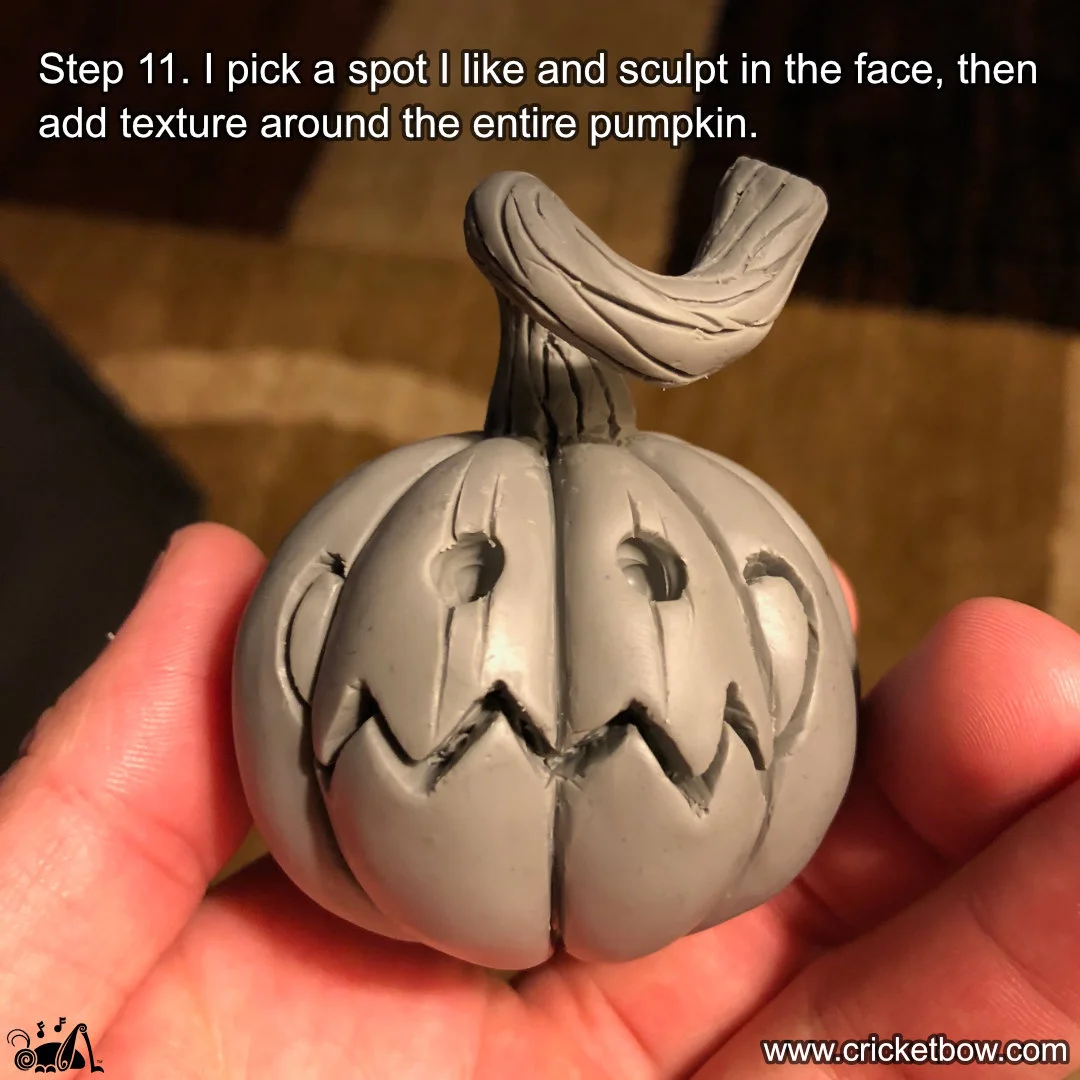
Step 11.
I pick a spot I like and sculpt in the face, then add texture around the entire pumpkin.
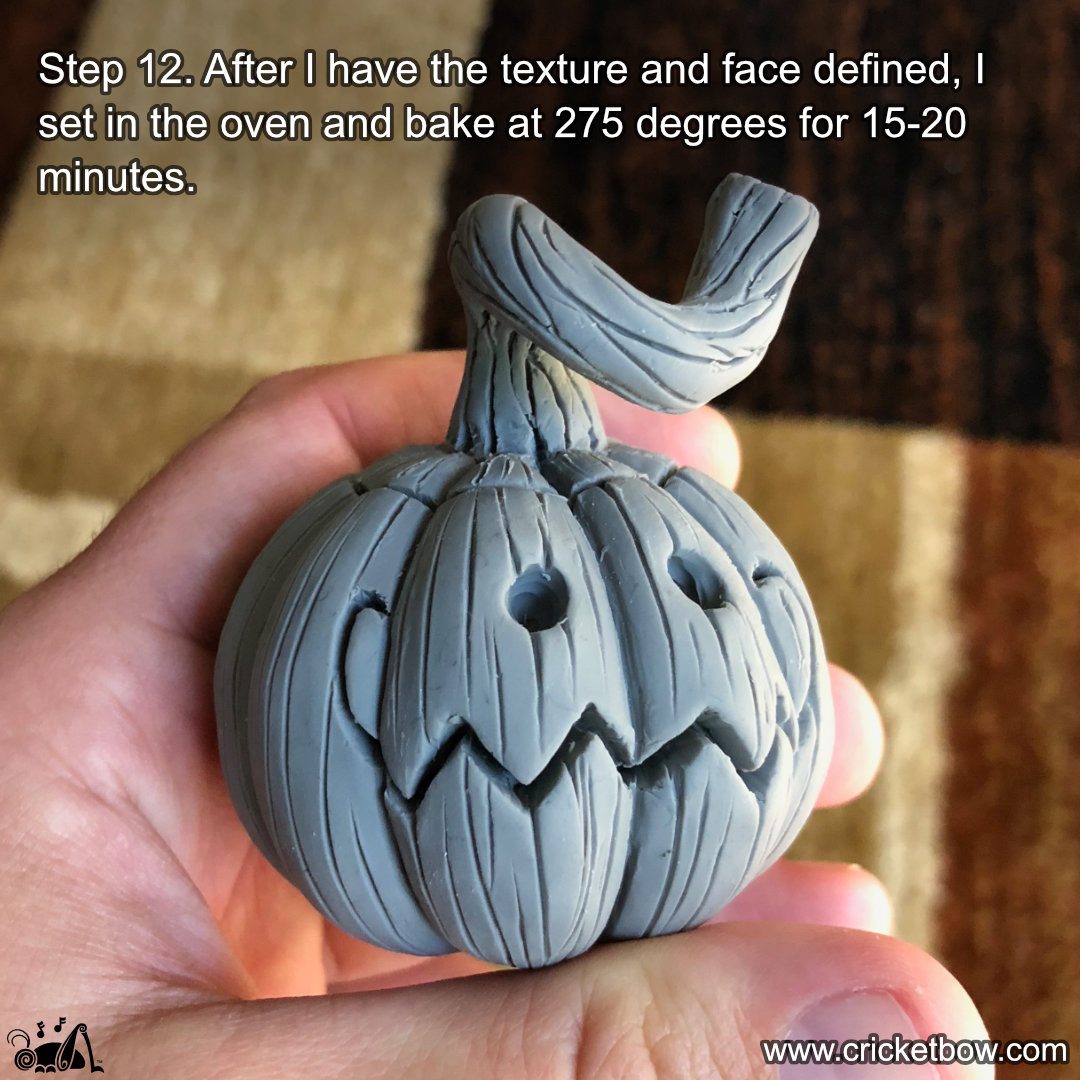
Step 12.
After I have the texture and face defined, I set in the oven and bake at 275 degrees for 15-20 minutes.
Step 13.
After cooling, I paint a base coat of orange. I just use a basic acrylic paint.

Step 14.
I keep building up by adding some watered-down black paint for texture.

Step 15.
I work on some brighter orange, some black in the facial features, and begin painting the stem.

Step 16.
Fast forward a little bit to the final pumpkin complete with splotchy texture!

I hope you enjoyed this tutorial and have fun making your own little Sculpey pumpkins. And… have a Happy Halloween!
Check out my Instagram for more examples of Sculpey pumpkins.


